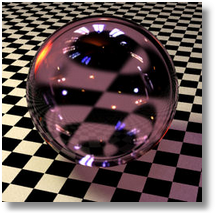
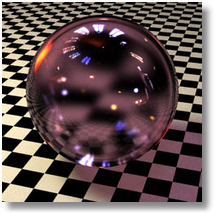
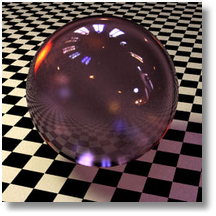
Sidebar
An introduction to the Brazil Shader system
Summary: This page discusses the way in which Brazil manages shaders (materials and textures).
-
- Additional Brazil shaders
What are shaders?
In Brazil, everything that makes a visible impact on a rendering is referred to as a shader. This includes lights, environments, materials, textures, and even camera lenses. Essentially, shaders are predefined behavioral patterns that affect the rays during the ray-tracing process.
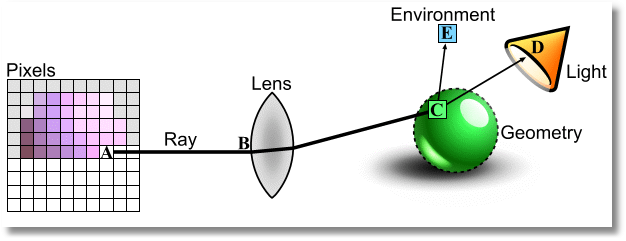
For example, imagine the process for a single pixel during a Brazil rendering. First, a ray is shot from the pixel in question into the camera lens shader (A»B). The lens shader then changes the ray's direction so that it adheres to the current camera projection and depth-of-field settings. The ray is now in the Model space and it is liable to hit an object, such as a green, partially reflective sphere. Once the ray hits the sphere at C it scatters into multiple new rays. First, from the impact point new rays are traced towards all light sources in the model (C»D). These shadow rays determine the intensity and color (if any) of the effect of every light on the little patch of geometry at C. All this lighting information is combined by the material shader of the sphere in a specific way (could be a Lambertian algorithm, or maybe an Oren-Nayar, or a million things more) to calculate the color at C. Yet, this is not the end of the process. Since our sphere is partially reflective, the material shader needs to know both the total of all lighting and the color of what is visible in the mirror. Thus it needs to cast yet another ray into the model (C»E) which again might intersect with geometry, setting off a new iteration. However, this is a simplified case. So our reflecting ray does not intersect any other objects, but instead terminates at the environment shader:
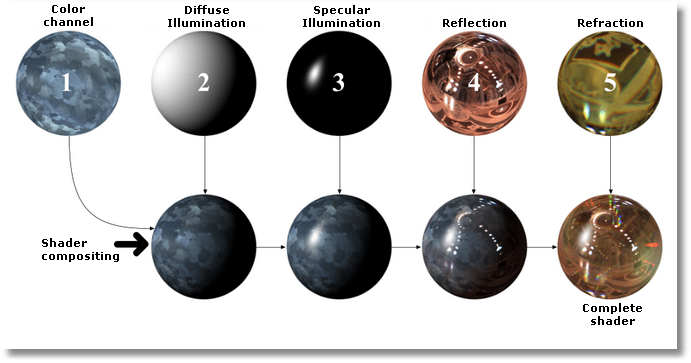
In a complex rendering with Skylight, GI, glossy reflection or subsurface scattering, the amount of rays spawn from a single pixel-ray can be truly astonishing. In fact, many settings in the Brazil and shader options directly specify the amount of new rays that are allowed to estimate the actual color of a specific effect. Add to this the fact that most materials in Brazil are actually compositions of many small shaders, and the numbers start to grow beyond comprehension. The diagram below is a schematic representation of such a Brazil composite shader. It shows how different effects are combined to form the complete shader:
Our material is composed of five different effects:
- A texture specifying the diffuse color on every bit of the surface.
- A Lambert shading algorithm which controls how light affects the surface.
- A Phong highlight shader which adds specular effects.
- A reflection shader.
- A refraction shader used to simulate transparency.
Each of these sub-shaders (or shader-nodes) can be controlled individually in most cases, but some advanced material shaders provide a much simpler interface which only exposes a small number of settings. This doesn't mean they are less complex. It only means they deal with all the sub-shaders behind the scenes. More on shader compositing later…
Shader libraries and types
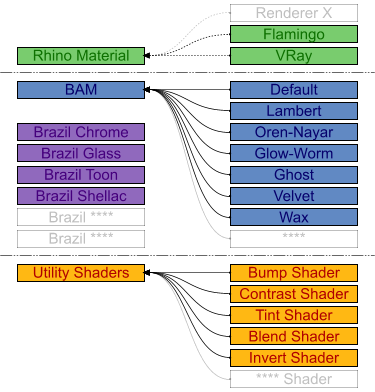
Brazil is capable of rendering different material shaders which can be grouped in three distinct categories:
First, Brazil understands the basic Rhino material and all that that implies. In Rhino 4 the basic material has been beefed up, even though most options are not yet exposed in the Rhino interface. Rhino materials are capable of storing the following settings:
- Diffuse color and/or texture
- Transparency
- Index Of refraction
- Opacity texture
- Specular color
- Specular strength
- Specular shine
- Bump texture
- Emap texture
- Ambient color
- Emission color
Each can be represented by Brazil. This is interesting as other render engines such as Flamingo and VRay can create simulations of their own materials, including textures, which can then be rendered by proxy through Brazil. This also works the other way around. VRay should be capable of rendering a fair approximation of Brazil shaders.
Brazil also supplies several Brazil specific shaders which capitalize on the advanced features that the Brazil Render Core exposes. These include effects that cannot be properly represented as a Rhino Material such as dispersion, absorption, glossy reflection, sub-surface scattering, and so on. Most Brazil shaders are grouped under an overarching master shader called the Brazil Advanced Material (BAM). All the shaders located in the BAM shader share a lot of sub-shaders and thus a lot of settings. Some Brazil shaders do not fit into the BAM because they are too unique. Examples of these are the Toon, Glass, and Chrome shaders.
Finally, there is a category of intimidating shaders called utility shaders which are part of the beta process and will be phased out in further development.
The Brazil Advanced Material
The BAM is the base shader for many useful Brazil materials, and it has many settings available to most subshaders such as Highlight and Reflection.
BAM Default
The BAM Default shader is an all-purpose shader which can be likened to the Rhino material. It exposes many features useful for creating realistic materials without committing itself to a specific effect. The out-of-the-box behavior of the BAM Default shader is similar to a grey diffuse material with a small specular highlight.
BAM Carpaint
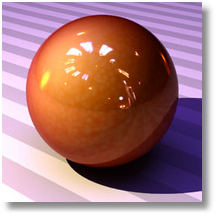
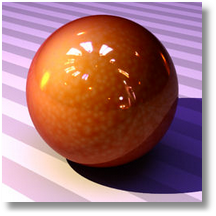
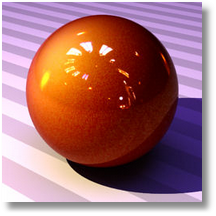
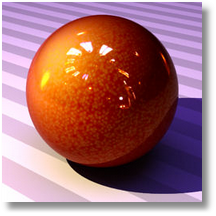
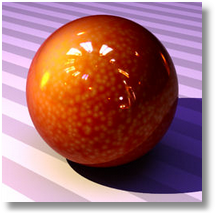
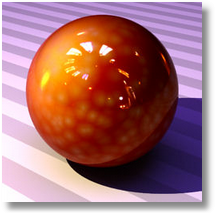
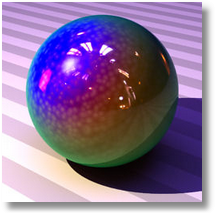
The Carpaint shader is, obviously, designed to simulate metallic painted surfaces. There's more to real car paint than just reflection and this shader aims to capture those evanescent properties. In addition to the BAM Default shader, Carpaint adds these three effects. Use these individually or in conjunction:
- Falloff (Controls the mutation of paint color at shallow angles)
- Candy (Controls the mutation of paint color at light reflecting angles)
- Flakes (Controls the sparkly look of metallic paint layers)
BAM Ghost
The BAM Ghost subshader is not yet available in Brazil r/s for Rhino.
BAM Glow Worm
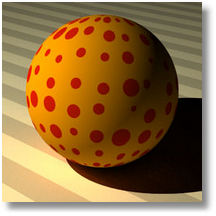
The Glow Worm shader is a physically incorrect shader. Even so, it can create realistic results. Essentially, it is identical to the BAM Lambert shader except it has an incandescense factor. Whenever a Glow Worm shader receives little light, it starts to emit its own:
BAM Lambert
The BAM Lambert shader is essentially the same as the Default, but with all the ethereal properties disabled.
BAM Velvet
Use Velvet to approximate cloth and fabric materials. The integrated Sheen highlight controls provide a good lighting model for rough materials.
BAM Wax
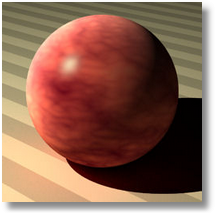
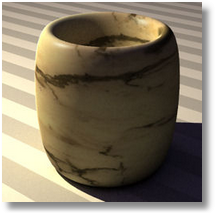
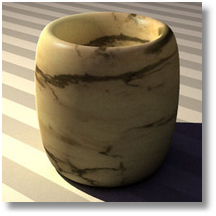
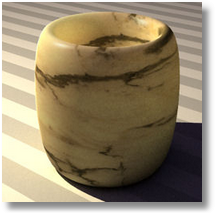
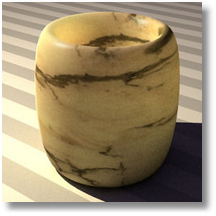
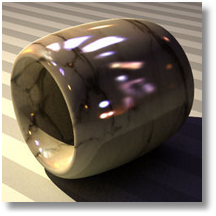
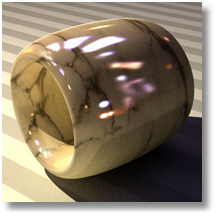
Wax is one of the most advanced shaders in the BAM section. It is the all-purpose sub-surface scattering shader which can be used to mimic real-world materials such as wax, jade, skin, milk, marble, and plastics. Sub-surface scattering (SSS) is the effect of light being diffusely spread across the interior of a shape. SSS is usually a subtle effect but it can make all the difference in the world when it comes to photorealism. Note that it is a computationally expensive shader which will increase your render times.
Brazil Chrome Shader
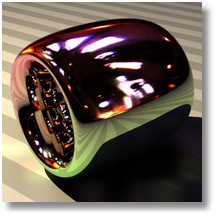
Chrome is a very specific shader that can only be used for extremely reflective materials. It has no diffuse component. When you use Chrome, always try to make it reflect less than 100% of the light or it will appear too bright. When it comes to reflection though, Chrome rules the Brazil shader collection. It has all the options you could expect from any reflector shader.
| Brazil Chrome shader | |||
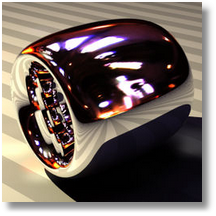 | 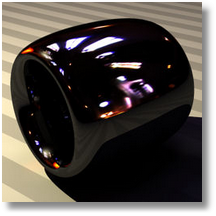 | 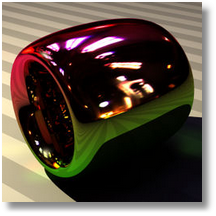 | 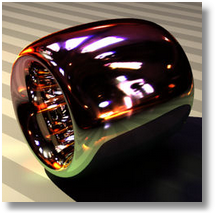 |
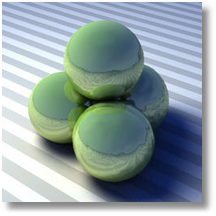
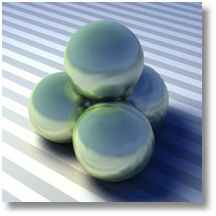
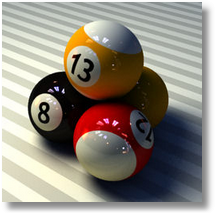
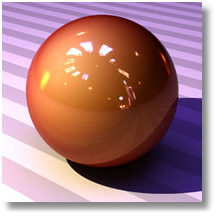
| The default Chrome shader reflects 100% of the incoming light. This is unrealistic behavior. The highest reflectivity achieved by human made materials to date is about 97-98% | By setting a filter color, the reflectivity can be dampened significantly. The color of the reflected image is also controlled through the filter property. | You can use textures instead of single colors for the filter property, such as gradient from green to purple. | One of the advanced features of chrome reflection is the Reflection Decay control, which reduces the effect of reflected light based on distance to the shader. This is an unrealistic material property but it can simulate absorption of the volumetric environment, such as fog. It can also fade sharp edges in the reflection. Note how the horizon of the ground plane is no longer visible in this image, since the decay has blended the ground plane with the environment before it reached the edge of the ground plane. |
 | 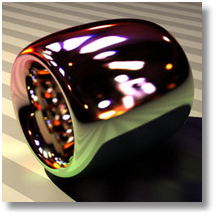 | 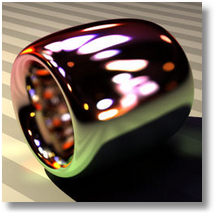 | 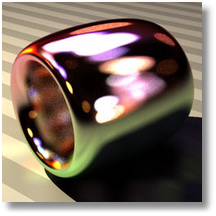 |
| Reflection can also be glossy (blurred). The first image is without glossyness for purposes of comparison (100% angular glossyness). | 95% angular glossyness. | 90% angular glossyness. | 80% angular glossiness. Since my environment is an HDR environment it contains colors that are brighter than white. These colors start to leak into neighboring pixels when they are blurred. These effects are called Bokeh abberations. They also appear when HDR colors are used in combination with Depth-of-Field camera settings. |
Brazil Glass shader
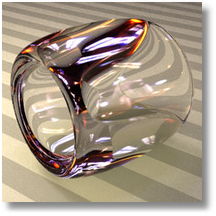
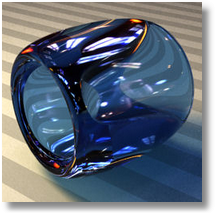
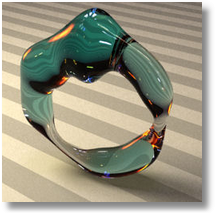
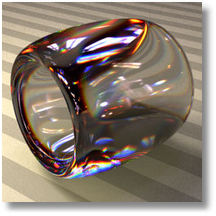
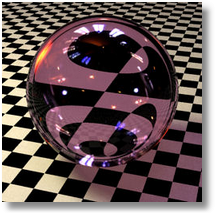
Like Chrome, the Brazil Glass shader lacks a diffuse component. The material only deals with refractions and reflections. It has extra controls over the refraction properties of the BAM shaders:


