Sidebar
This is an old revision of the document!
Zoo - License Manager

The Zoo keeps your licenses in one place and lets you share them with Rhino users on your private network. (Overview video)
The Zoo now supports Rhino 7. Learn how to upgrade your existing Zoo installation to Zoo 7.
Is the Zoo right for you? Only if:
- You are using compatible products.
- You have more users than licenses.
- You want to manage many licenses in one place.
- You are not an individual with multiple computers. See the license agreement...
If you answered no to any of these questions, then there are other licensing options that may meet your requirements.
Getting started
Setting up the Zoo
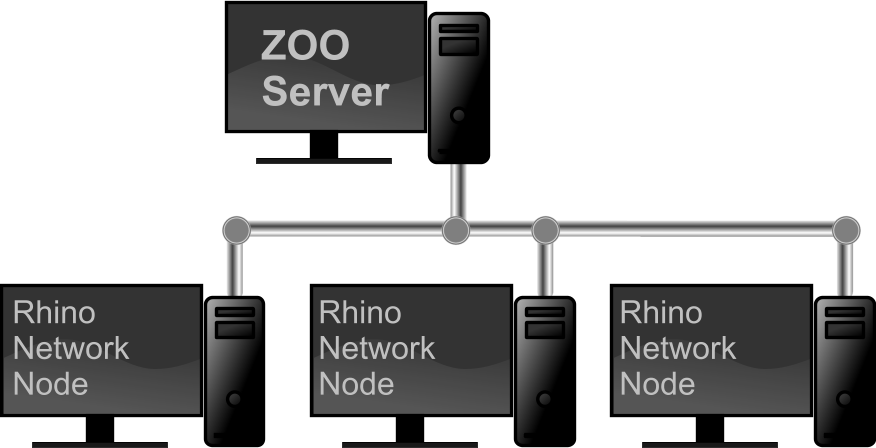
- Choose one Windows computer on your network to host the Zoo utility.
- Download and install the Zoo that computer.
- Make sure TCP Port 80 is open in your firewall.
- Run ZooAdmin and add your Rhino license keys.
Setting up Rhino for Windows
- If Rhino is already installed, run Rhino and click Tools → Options → Licenses. Select your Rhino license and click Convert. Close and restart Rhino. During restart, select Network Node and then specify the name of your Zoo server.
- When installing Rhino, select Network Node and then specify the name of your Zoo server.
Setting up Rhino for Mac
More information and support
Troubleshooting
Knowledge base
zoo/home.1605308136.txt.gz · Last modified: 2020/11/13 by dale