Sidebar
Brazil Rendering System Sampling
  | Brazil r/s for Rhino Wiki pages Robert McNeel & Associates |
Summary: This page discusses sampling in the Brazil render engine, sampling in general, and guidelines for proper setups.
What is sampling?
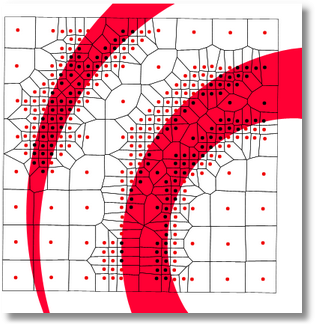
Real life is continuous. So is a 3D scene. Even a finite surface suspended in space and lit by a spotlight has an infinite number of different colors. In actuality, atoms terminate this regress, but Rhino is not aware of atoms so we cannot count on them in this case. When we render an image, we do not have infinite accuracy since we cannot represent details smaller than one pixel (though it is possible to suggest details smaller than one pixel, but that is a story for another day). The obvious solution is to measure the color at the center of every pixel in the rendering, and then assume that this color is a fair average of the entire pixel. Called sampling, this creates an approximation of a continuous data source by taking measurements at specific intervals:
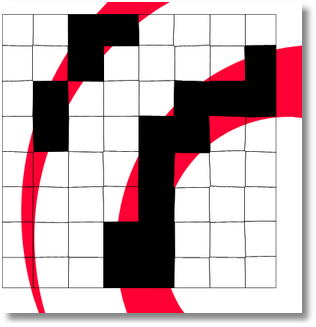
The pink rings represent the 2D projection of our continuous 3D model, and the dots represent the samples. Notice the samples are not aligned perfectly in a grid. This is done to avoid unwanted aliasing artifacts of (near) vertical and horizontal lines, which occur quite frequently in CG. Brazil's initial sample distribution is in fact far cleverer than this. (These images images show a jittered-stratified grid, whereas Brazil uses a low-discrepancy Best-Candidate sampling. These are just the names of algorithms involved – you do not have to remember them. For now assume that every sample is at least near the pixel center. Every sample which intersects the rings is made black, others are red. If we now have to reconstruct an image based on these samples, we can hardly do better than:
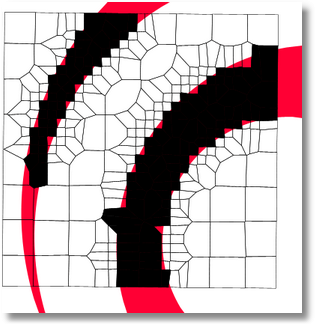
which isn't a good approximation. Large areas of white are filled with black and large areas of pink are still visible. One solution is to shorten our sample interval and measuring four points where we used to measure only one. This solution is a good one, but unfortunately the number of samples increases with the square of the accuracy gain. It will take longer and longer (much, much longer) to compute the whole image as we increase the accuracy. Making a single measurement is a very expensive operation so we want to take as few samples as possible. A solution is to use an adaptive sampling algorithm, which only introduces more samples when increased accuracy is expected to pay off. If Sample A, for example, intersects our pink rings, but its neighbor B does not, we can safely assume that the rings ends somewhere between A and B. We can then sample a few more times between to increase our local accuracy:
This already results in a far more accurate approximation of the continuous input, without a doubling of the number of samples. So the thin lower part of the leftmost ring is still ignored because it happened to fall between two samples during the coarse pass and thus we had no idea there was something in between. This is a common problem with renderers such as Brazil which use adaptive sampling. The only way to solve it is to increase the accuracy of the initial pass.
Sampling controls in Brazil
Brazil offers several settings to control the sampling behavior. First, you can set the rendering's minimum and maximum sampling accuracy. These numbers are integers and they show the exponent of the number of samples per pixel:
| Sampling settings | |||||
| Sample value | Value meaning | Samples per pixel | Result | ||
| -3 | 2 | -3 | One sample every 8 pixels | Extreme low quality, very blurry | |
|---|---|---|---|---|---|
| -2 | 2 | -2 | One sample every 4 pixels | Very low quality, useful for judging lighting conditions across a rendering | |
| -1 | 2 | -1 | One sample every 2 pixels | Low quality, useful for judging local lighting conditions, good for previews | |
| 0 | 2 | 0 | One sample every pixel | This effectively removes any anti-aliasing artifacts from the image | |
| 1 | 2 | 1 | Two samples every pixel | Lowest anti-aliasing value, lines will still be fairly jagged | |
| 2 | 2 | 2 | Four samples every pixel | Pretty good anti-aliasing, especially on low-contract thresholds | |
| 3 | 2 | 3 | Eight samples every pixel | Very good anti-aliasing, only use higher settings to counter sampling artifacts |
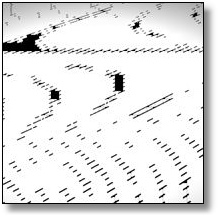
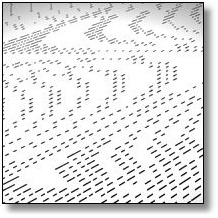
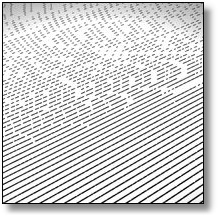
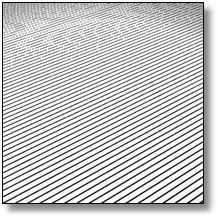
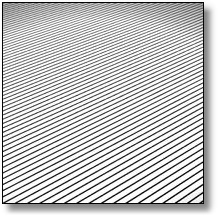
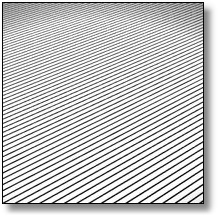
Let's look closer at how minimum and maximum resolution cooperate to give high-quality images in a reasonable amount of time. The following images are all renderings from the same scene. It's a simple plane with a procedural texture on it, meaning the lines are infinitely accurate (they will never become pixelated). The maximum sampling resolution for each image is +3 (8 samples per pixel). Our eyes cannot distinguish a higher quality, though you can make Brazil sample 256 points per pixel.
Even though the potential rendering quality is high, there are major sampling artifacts when we begin with a low quality sampling resolution. As the first image shows, Brazil is trashing about like a headless chicken when it is not allowed to perform an accurate enough initial sampling pass. The result is very anti-aliased (because of the +3 maximum sampling) but the super-pixel elements are all messed up. When we start to increase the minimum quality, the moire patterns start to disappear and the image becomes more and more accurate. At {+1, +3} we finally have a completely accurate representation of our texture. {+1, +3} is a relatively high sampling resolution, though you should expect to use similar domains for any production quality rendering. Since the black stripes become very thin in the top half of the rendering (they become thinner than a single pixel), we need multiple samples per pixel for the minimum sampling resolution for Brazil to detect them as continuous entities…
Adaptive filters
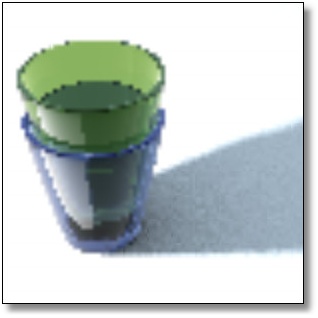
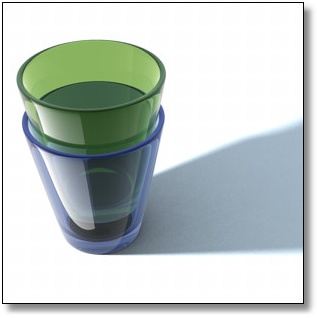
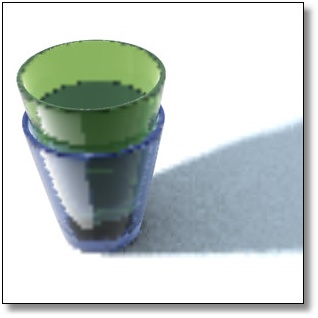
Since you can specify two different sampling resolutions in Brazil, you also have to specify when you want to use the more accurate one. By default, Brazil will sample the whole image at the lowest sampling resolution, then refine (adaptive sampling) the sample grid when two neighboring samples meet the specified threshold settings. Assume we have a simple scene with two objects, a groundplane and a single lightsource plus skylight. If we set the minimum sampling resolution to -2 (one sample every 4 pixels) and the maximum to 2 (four samples per pixel) we can expect the following results without adaptive sampling:
Now, Brazil has four different settings that let you set up adaptive thresholds. I typically use all four of them, but then I'm rarely under an extreme deadline so I can afford to spend a few minutes extra on a rendering. These are:
- Object Edge
- Normal
- Z-Depth
- Contrast
Object Edge adaptation
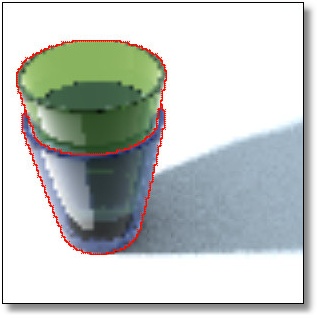
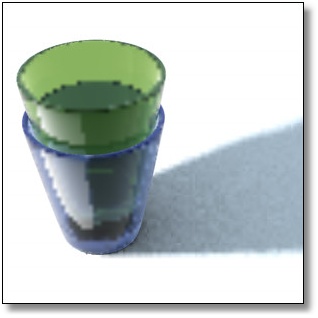
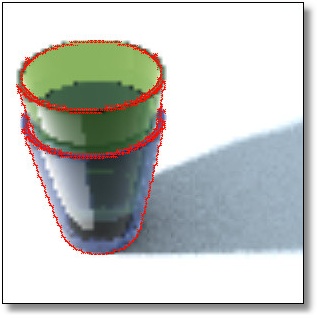
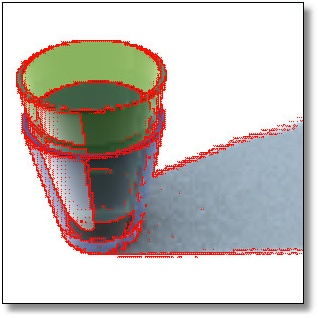
When sample A intersects our groundplane, and the neighboring sample B intersects the blue glass, we know that somewhere in between there must be a transition from groundplane to glass. We can use such a threshold to trigger a refinement event:
Surface Normal adaptation
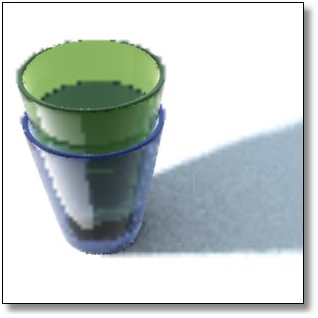
Instead of checking for different objects, the Normal adaption compares the surface normal vectors of samples A and B. If these differ sufficiently then a refinement event is triggered:
Z-Depth adaptation
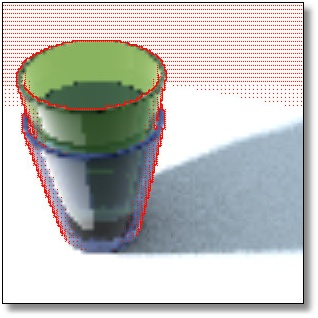
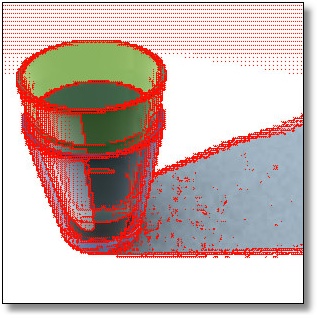
Yet another geometric property that can be evaluated is the difference in distance between |Camera, A| and |Camera, B|. When sample A is very close and B is very far, it's probably safe to assume there's a lot happening in between:
Contrast adaptation
This is the only non-geometric filter available. It relies on the results of the first (coarse) sampling pass and then refines based on relative contrast between adjacent samples. This is probably the most useful filter available in the Brazil sampling engine.
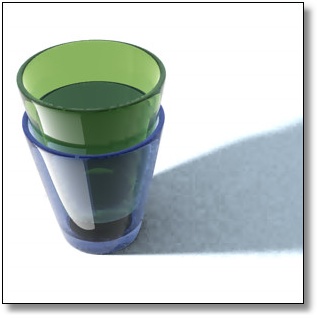
Grand finale…

