Sidebar
Real-time Rendering in Rhino
Summary: Rhino has advanced real-time rendering in both Rhino 6 and 7. Here is what you need to know to use it.
Contents
Overview
Rhino includes advanced real-time rendering modes. Use these modes to create quick, high quality renderings for design presentation. For a basic understanding of real-time rendering in Rhino watch this video (3 minutes):
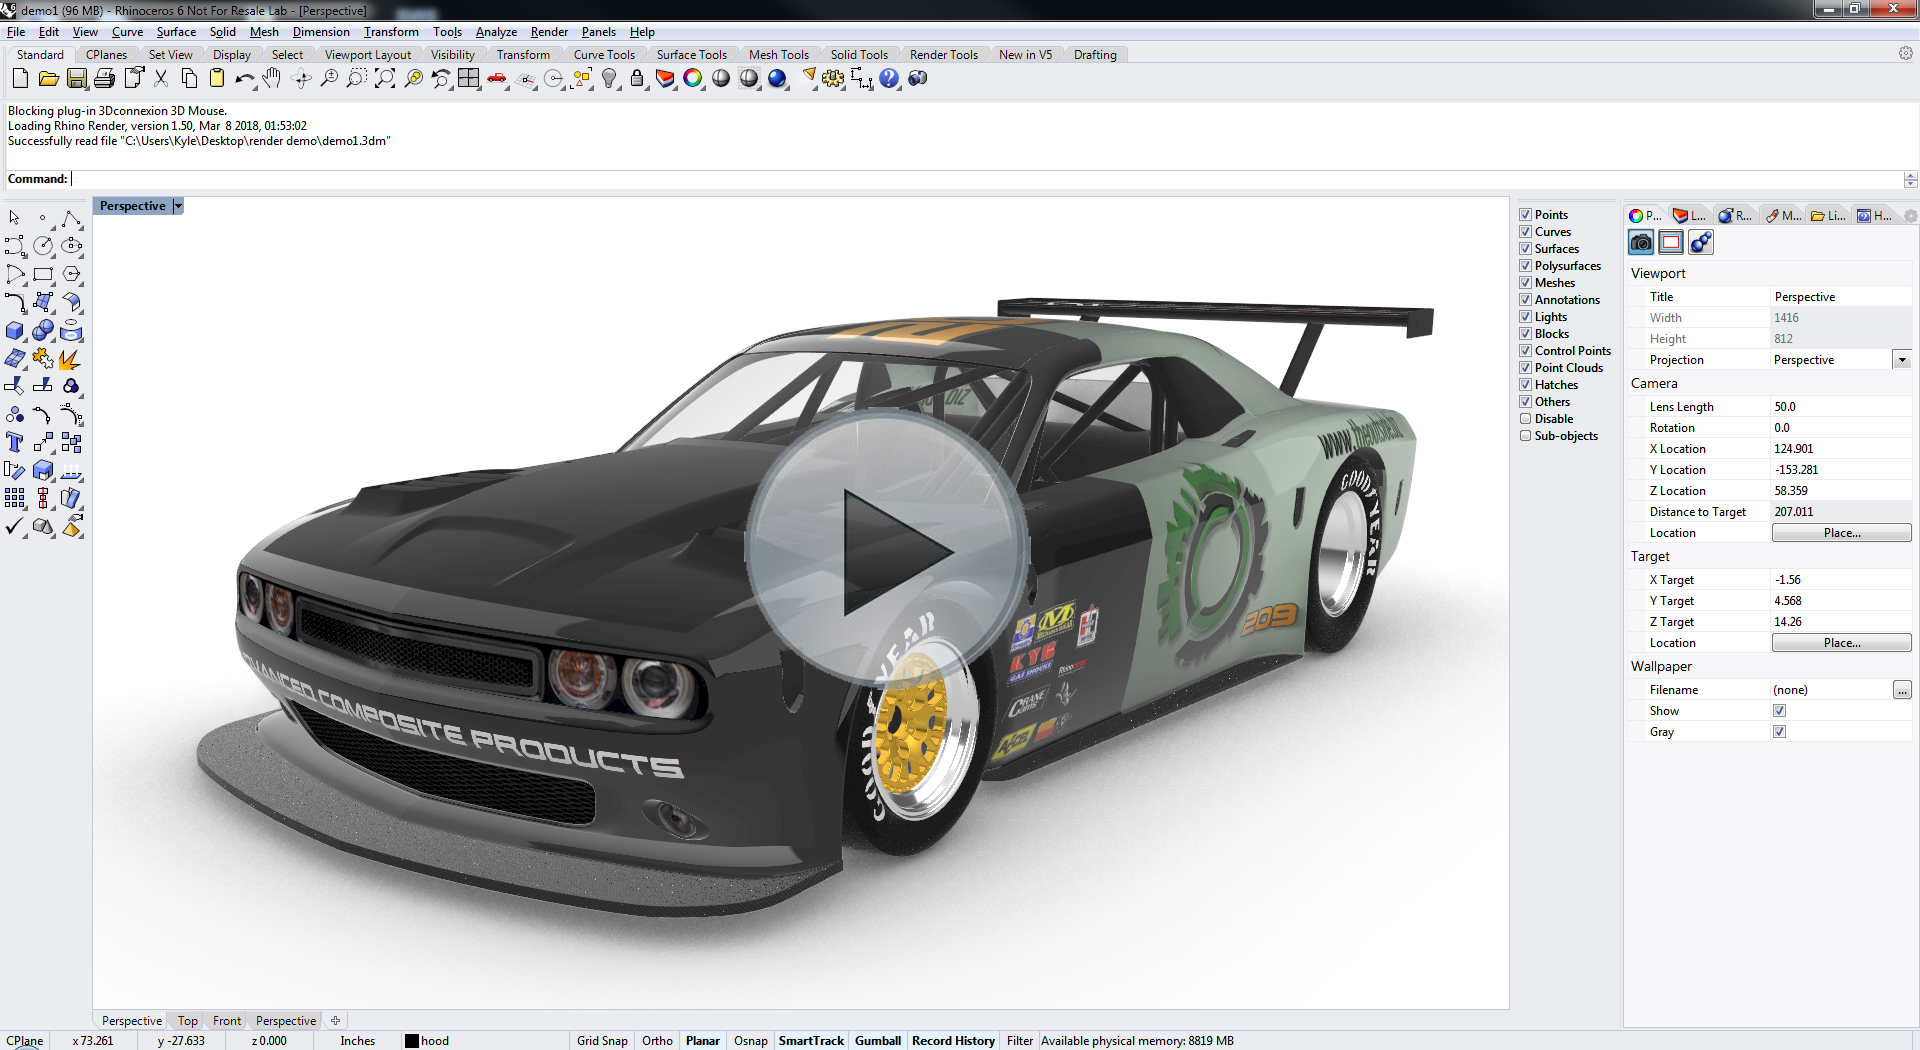
Setting up a rendering
 | To get started, setting up a rendering is the first step. Here, Kyle covers basic material creation and assignment, the first step in any rendering. (11 minutes) |
 | Once the display looks good, using Rhino capture tools to create images for client presentations. (2 minutes) |
Additional rendering settings
Many settings can be changed to improve the rendering. Take a tour through some of the settings beyond the defaults.
Materials and Mapping
Details on material libraries, making new materials and mapping materials.
 | A video on finding the basic material libraries that come with Rhino and how to use them. Vanessa Steeg also looks at the basics of editing materials. (10 minutes) |
 | In this video, learn how to access and use the Rhino 6 for Windows material library. Brian James also explains the details about texture mapping, default settings and mapping customization. (14 minutes) |
Environment
If you do not like the reflections or would like to see the model in a different scene, change the environment.
 | Change the reflections and the overall look of the rendering by using one of the many Rhino lighting environments. (2 minutes) |
Ground plane
Rhino's new ground plane features can create a good base to build your rendering from.
 | Edit the ground plane in Rhino to improve the foundation of your rendering. (2 minutes) |
Snapshots
 | Snapshots allow multiple views and model configurations to be saved for future reference. Use snapshots to create multiple graphical presentations of the same model. (6 minutes) |
Saving an image from the display modes
| | Once the display looks good, use Rhino's capture tools to create images for client presentations. (2 minutes) |
Decals
Decals are textures and images placed on the model in a specific location. Kyle covers both basic and intermediate ways of using decals on the model.
 | Get started using decals to place images and textures in very specific places on the model. A great way to paint certain parts of a model. (5 minutes) |
 | Learn how to manage multiple decals on multiple objects in this presentation about Rhino tools. (7 minutes) |
Raytrace Mode
Beyond Rhino render display mode is the new raytrace display mode. This is a new interactive raytrace mode in the viewport.
 | Kyle covers the new raytrace display mode and how to get the most out of this new raytrace render mode. (8 minutes) |
 | Focal blur can be used to add depth and realism to the raytrace view renderings. Learn how best to use this new feature. (2 minutes) |
 | Raytrace display mode in Rhino may require a change in the glass material. Here is a quick way to change the glass to look great. (1 minute) |
 | Raytrace display mode also can be configured to take advantage of advanced hardware. See this video on how to change the raytrace display mode default. (1 minute) |
rhino/6/rendering/realtime.txt · Last modified: 2020/08/14 (external edit)